


How to Install Rigid Signage
A great sign deserves a great install. Get the fixing right and your rigid signage will sit flat, look professional and stay put for years. Here is a straightforward guide to doing it properly, whether you are mounting a small reception sign or a large outdoor board.
Before you start
- Choose your position with care, checking eye line, sightlines and any obstructions.
- Gather your tools: a spirit level, tape measure, pencil, drill and the correct fixings for your wall type.
- Dry-fit first, holding the sign in place to confirm the position before you make a single mark.
Common fixing methods
The right method depends on the surface and the look you want.
- Drill holes and screws are simple and secure, ideal for Foamex and Dibond on most walls.
- Stand-off fixings hold the sign slightly proud of the wall for a smart, premium finish.
- Adhesive pads or tape suit lightweight indoor signs on clean, smooth surfaces.
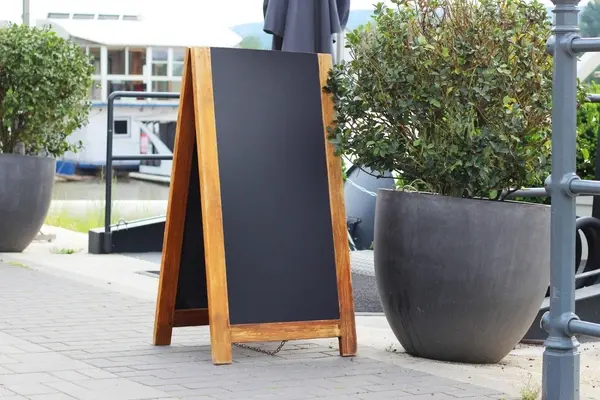
- Frames and posts are best for freestanding and roadside signage.
Pro tips for a clean finish
Always level before you fix, measure twice, and pre-drill your holes to avoid cracking the board. For outdoor signs, leave a small gap behind the board so water can drain and air can circulate. If in doubt on a large or high install, use a second pair of hands or a professional fitter for safety.
We will set you up to succeed
We are a family-run print and display specialist in Dorset, serving Dorchester, Poole, Wareham and the UK since 2008. We can supply your sign pre-drilled with the right fixings included, so installation is quick and stress-free, and every order comes with a free artwork check and free UK delivery.
Need a sign that is ready to fit? Browse our full range and order your rigid signage today, and just ask us about install-ready options.
Make Your Business Online By The Best No—Code & No—Plugin Solution In The Market.
30 Day Money-Back Guarantee
Say goodbye to your low online sales rate!